No products in the cart.
Would you love fresh greens year-round without spending a fortune at the grocers? Well, you can by growing microgreens at home. The best part is you need not have a green thumb.
Learn everything you want to know here with us: growing microgreens indoors. The best part is that it does not take up much space to grow and is ideal for urban gardeners.
What Are Microgreens?
Microgreens are young herbs or vegetables about one to three inches tall. The microgreens have aromatic flavors available in different colors and textures. Hence, baby indoor plants fall between sprouting seeds and baby greens.
Still, it would be best not to confuse it with sprouts, as they do not have leaves yet. Sprouting seeds are smaller and have a shorter growing cycle of two to seven days. You can harvest microgreens seven to 21 days after the germinated seeds as they have a set of true leaves.
Hence, microgreens are more related to baby greens as you can eat the stems and leaves. Yet, it is much smaller in size and is sold before harvesting. Thus, you can buy these plants whole to cut them up at home or keep them alive until you consume them.
The best part is microgreens are very convenient to grow as you can grow them outdoors, in a greenhouse, indoors, or on a sunny windowsill.
Many gardeners refer to microgreens as vegetable confetti as it creates appealing and tasty dishes.
6 Major Benefits of Microgreens
When you grow microgreens at home, they are packed with nutritional value. Still, the nutrient content can vary, but most varieties are rich in iron, magnesium, copper, potassium, and zinc.
Furthermore, it remains in a healthy diet filled with antioxidants and a higher vitamin and mineral content similar to your mature greens.
Research shows that the nutrient levels are nine times higher when comparing microgreens to mature greens.
Furthermore, when you harvest your microgreens, they contain different antioxidants and polyphenols than their mature counterparts. Hence, even if further studies are needed, much of the research shows that when you eat microgreens, it can help with the following:
It helps reduce heart diseases as it is rich in polyphenols, an antioxidant that helps lower the risk of a heart attack.
The antioxidants present in microgreens can help with diabetes as it prevents sugar from entering the cells.
Microgreens, rich in antioxidant food, contain high amounts of polyphenols linked to lower Alzheimer’s disease.
Lastly, eating fresh vegetables like microgreens can also help fight certain cancers as they are rich in polyphenols.
Yet, even with all the studies that need to be done, you can still enjoy your edible greens as they remain healthy.
Materials Needed For Growing Microgreens
While you can find microgreen growing kits, you need not invest in one. You can find the kits with seeds pressed into the trays that only need water. Still, you can go the do-it-yourself way and need minimal to start.
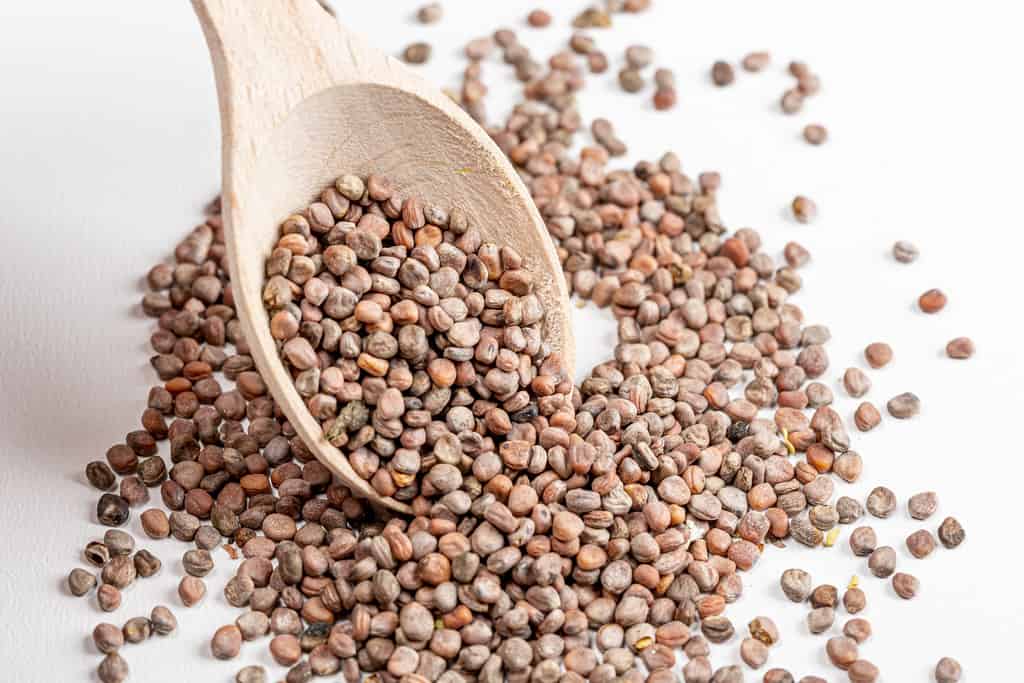
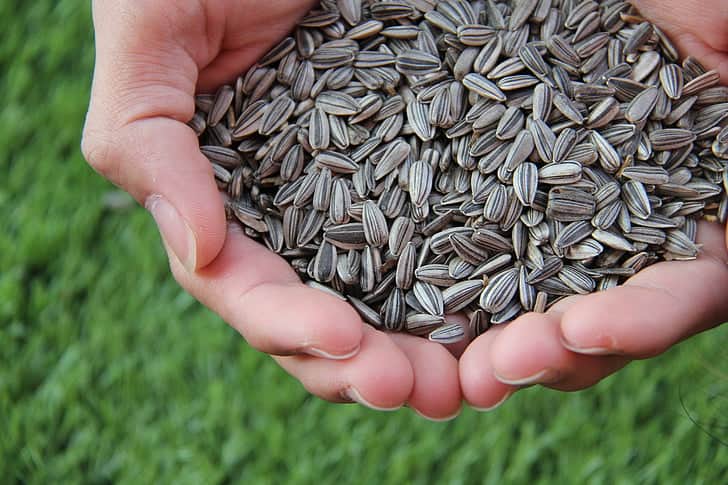
Get Your Microgreen Seeds
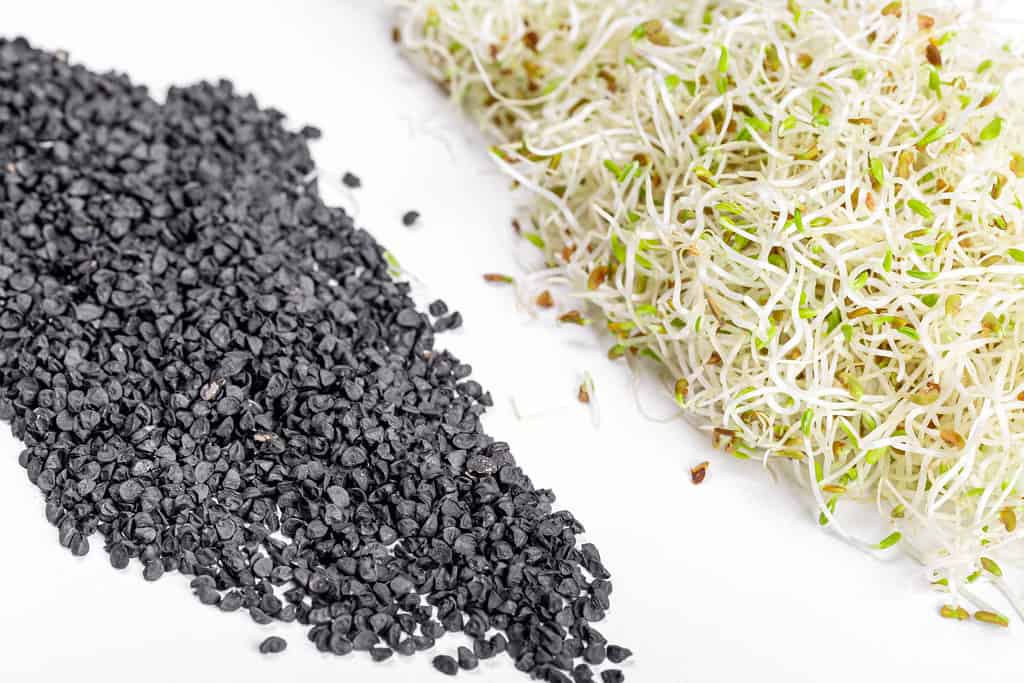
microgreens seeds @flickr
We recommend choosing organic or commercially untreated seeds when looking for sprouting seeds. Thus, the seeds are not treated with chemical fumigants. Also, choosing your microgreens seeds depend on your personal preference.
We have a detailed list of what you can grow available later on.
Growing Medium

Okay 👌, remember that microgreen seeds are not like sprouts but baby plants you will grow in soil. Still, you do not use garden soil but sterilized soil for starting seeds.
A seed-starting soil is ideal for microgreens as it has all the nutrients to give them a few weeks of growth.
Usually, when growing sprouting seeds, you would use something like coconut coir, but for microgreens, you can mix some dry kelp meal and compost.
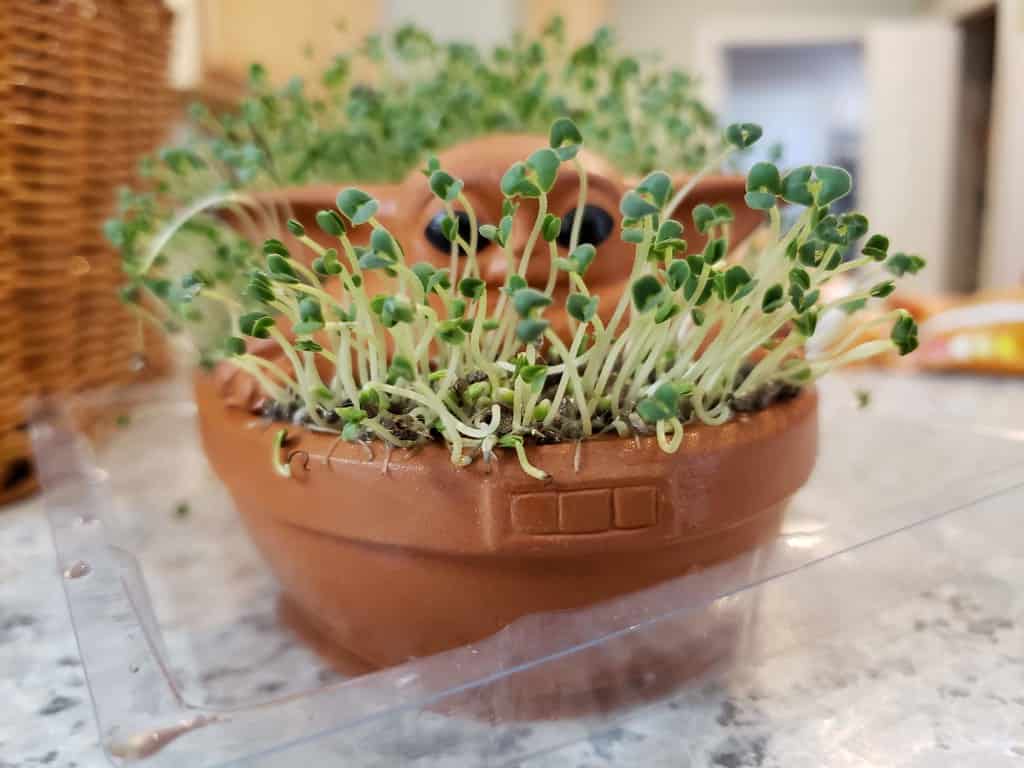
Trays For Your Sprouting Seeds
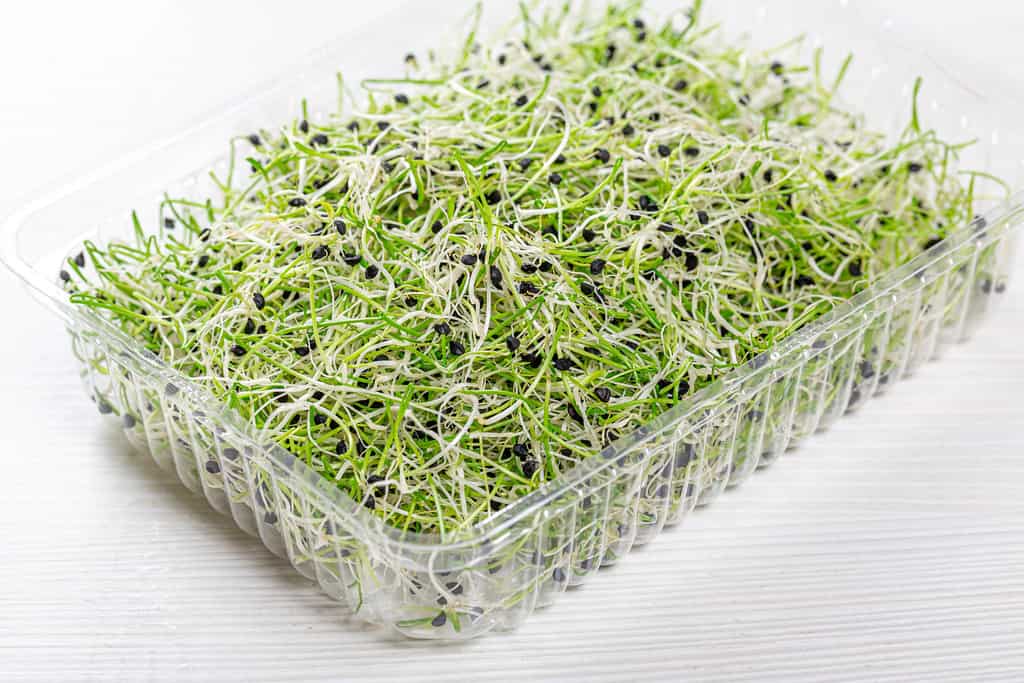 microgreens in tray @flickr
Instead of spending a fortune to grow microgreens, use what you have available at home. The crucial thing is your growing tray needs to be shallow, have enough drainage holes, and be shallow.
As for harvesting microgreens, you do it when the plants are still small; it does not have a long root system. Choose a shallow tray or container that is about 1 1/2 inches deep.
You can use containers, eggshells with holes, a vintage colander, egg cartons, or recycled food cans with holes.
Go wild and use your imagination, as you can use takeaway containers. Still, if you plan to grow large seeds, it helps to use seed starting trays to grow big batches of microgreen seeds.
Knife/Pair of Scissors, Spray Bottle, and Distilled Water
Lastly, you will need some distilled water, a spray bottle to moisten the soil, and scissors to cut your microgreens when the time comes to harvest.
Easy Steps To Grow Microgreens Indoors
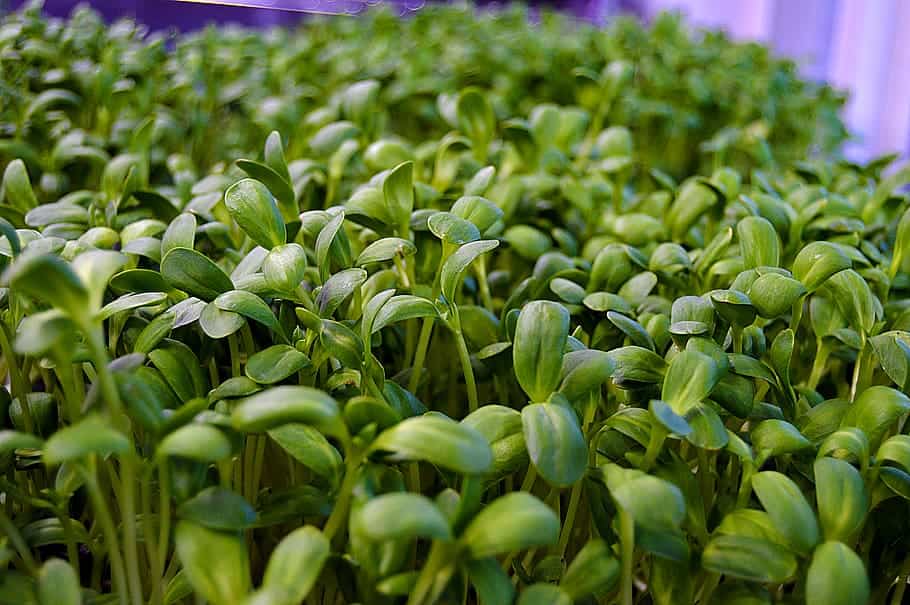
Depending on where you plan to grow microgreens, it still needs light to grow. So if you plan on using growing trays to grow your microgreens indoors, it helps to use grow lights if you do not have enough sunlight.
Then, buy microgreen seeds as per the species you want to grow. Now comes that million-dollar question! How many seeds do you need to grow fresh microgreens? Here are some helpful guidelines for different container sizes:
One tablespoon of seeds for 3×6.”
Two tablespoons of seeds for 4×8.”
Three tablespoons of seeds for 6×8.”
Two teaspoons of seeds for 4″ round
Two tablespoons of seeds for 6″ round
Four tablespoons of seeds for 10″ round
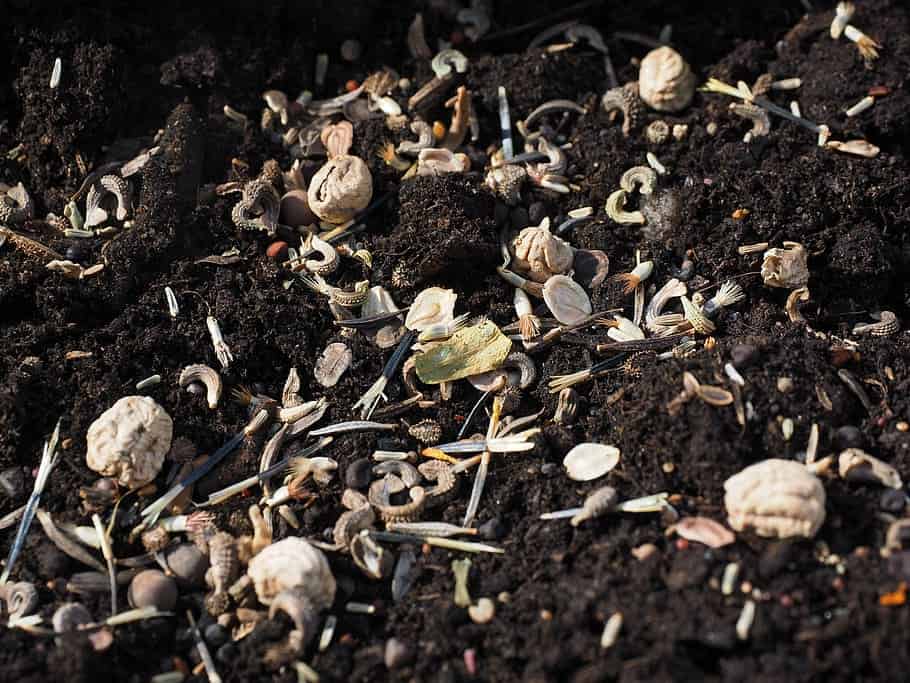
Prepare Your Microgreen Seeds
 microgreen seeds @flckr
Depending on the microgreens you choose, we recommend following the package instructions to prepare the seed. You will find that seeds can vary in preparation. You may need to place larger seeds like corn, wheatgrass, or peas in warm water to soak for 24 hours.
Prepare The Growing Medium
Next, fill your shallow container or other growing medium with the recommended potting soil. Then, fill a clean container with enough to place the trays in and fill it with distilled water.
Allow the soil to moisten from the bottom, and once wet, remove it from the water and allow the excess moisture to drain.
Start Sowing The Microgreen Seeds
Seeds needed to soften in water can now be removed to start seeding on the growing area. After distributing the microgreen seeds on the growing medium surface, you need not cover the seeds with soil. Doing this helps to keep soil particles off the seeds.
Then, apply some water using your spray bottle to keep the seeds moist. Then, placing the seeds in a dark place for a few days is recommended. You can cover the seeds with plastic wrap to retain moisture and place them in a dark cabinet.
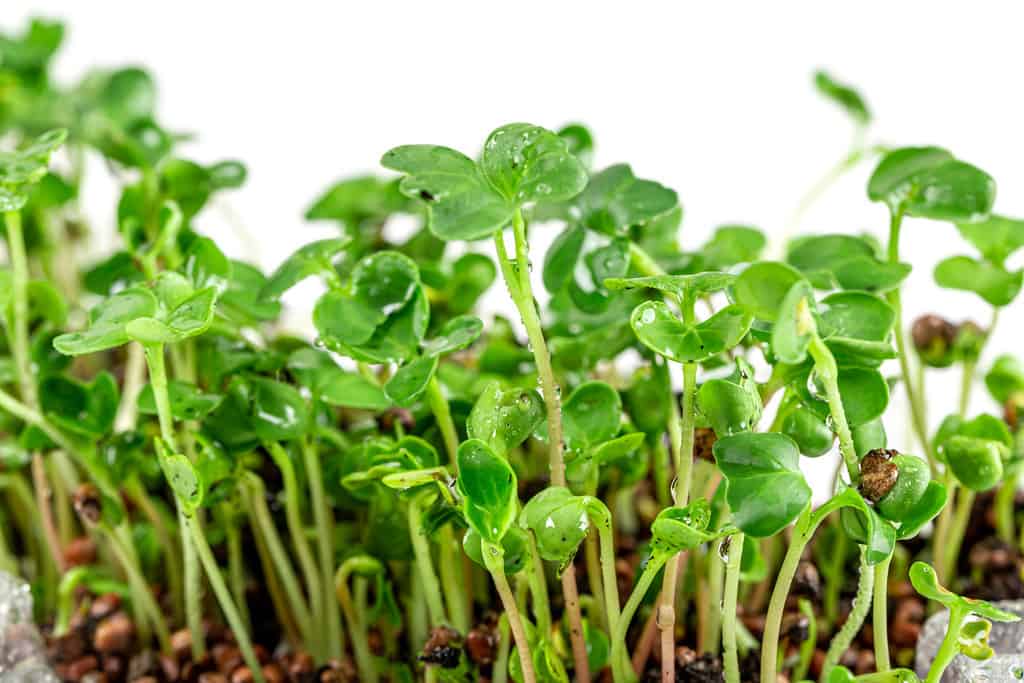
Growth and Management
Now that you have started growing microgreens indoors, you must monitor sprouts daily. You may find that some microgreens sprout faster than others. Once you see your salad greens sprout, remove the cover and place them in light.
While the seed leaves do not need much light, placing them on a windowsill is fine. Still, provide your microgreens with the temperature it needs per the package’s instructions.
Keep an eye on the soil moisture and water them as needed.
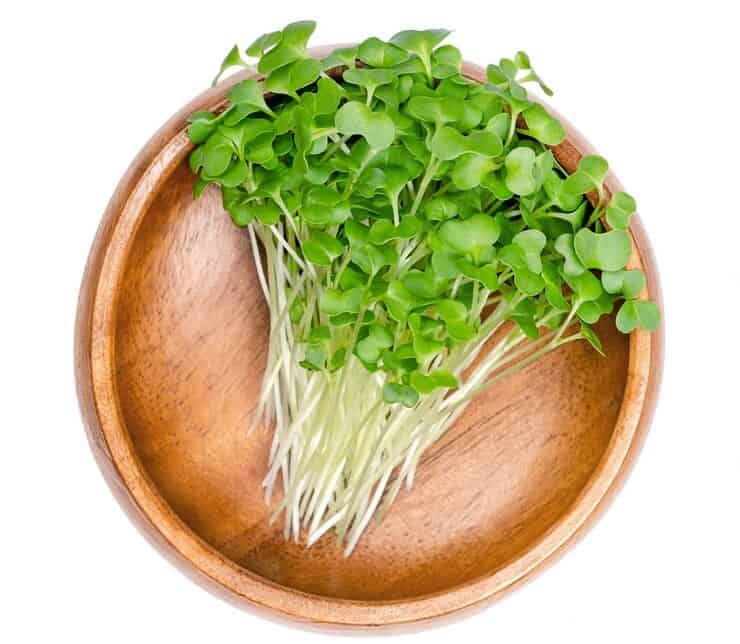
Harvesting Microgreens
When you harvest, microgreens depend on the variety you grow. Some tiny plants you can harvest when it has seed leaves about a week old using long-bladed scissors. The first set of leaves is cotyledons, unlike true leaves growing later.
Hence, we recommend checking the microgreen seeds package for instructions on harvesting them. Usually, a microgreen is three inches tall when ready to harvest. With your scissors, you can pinch the seedling above the soil line.
Furthermore, the best way to harvest microgreens is before eating them. Still, you can store them in containers with fitted lids or a sealable bag for about four days. Also, remember to rinse the soil under cool water if it has any on it.
Also, check for seed hulls on the top while washing microgreens; if present, they must be cleaned. You can submerge them in the water, allowing the seed hulls to float to the top to remove. Now, what if I do not harvest my microgreens?
You can harvest them, but the soil’s nutrients will be exhausted, and using them will be less tasty. However, they can work well in smoothies, pesto, or stir-fries. So the rule is to sow thickly but little at a time to provide you with small batches weekly.
Great, but what happens after you harvest microgreens and only the stems are left? The answer depends on the variety you grow; some microgreens regrow while others won’t. Still, if you intend to regrow, cutting above the lowest tiny leaves when harvesting is best.
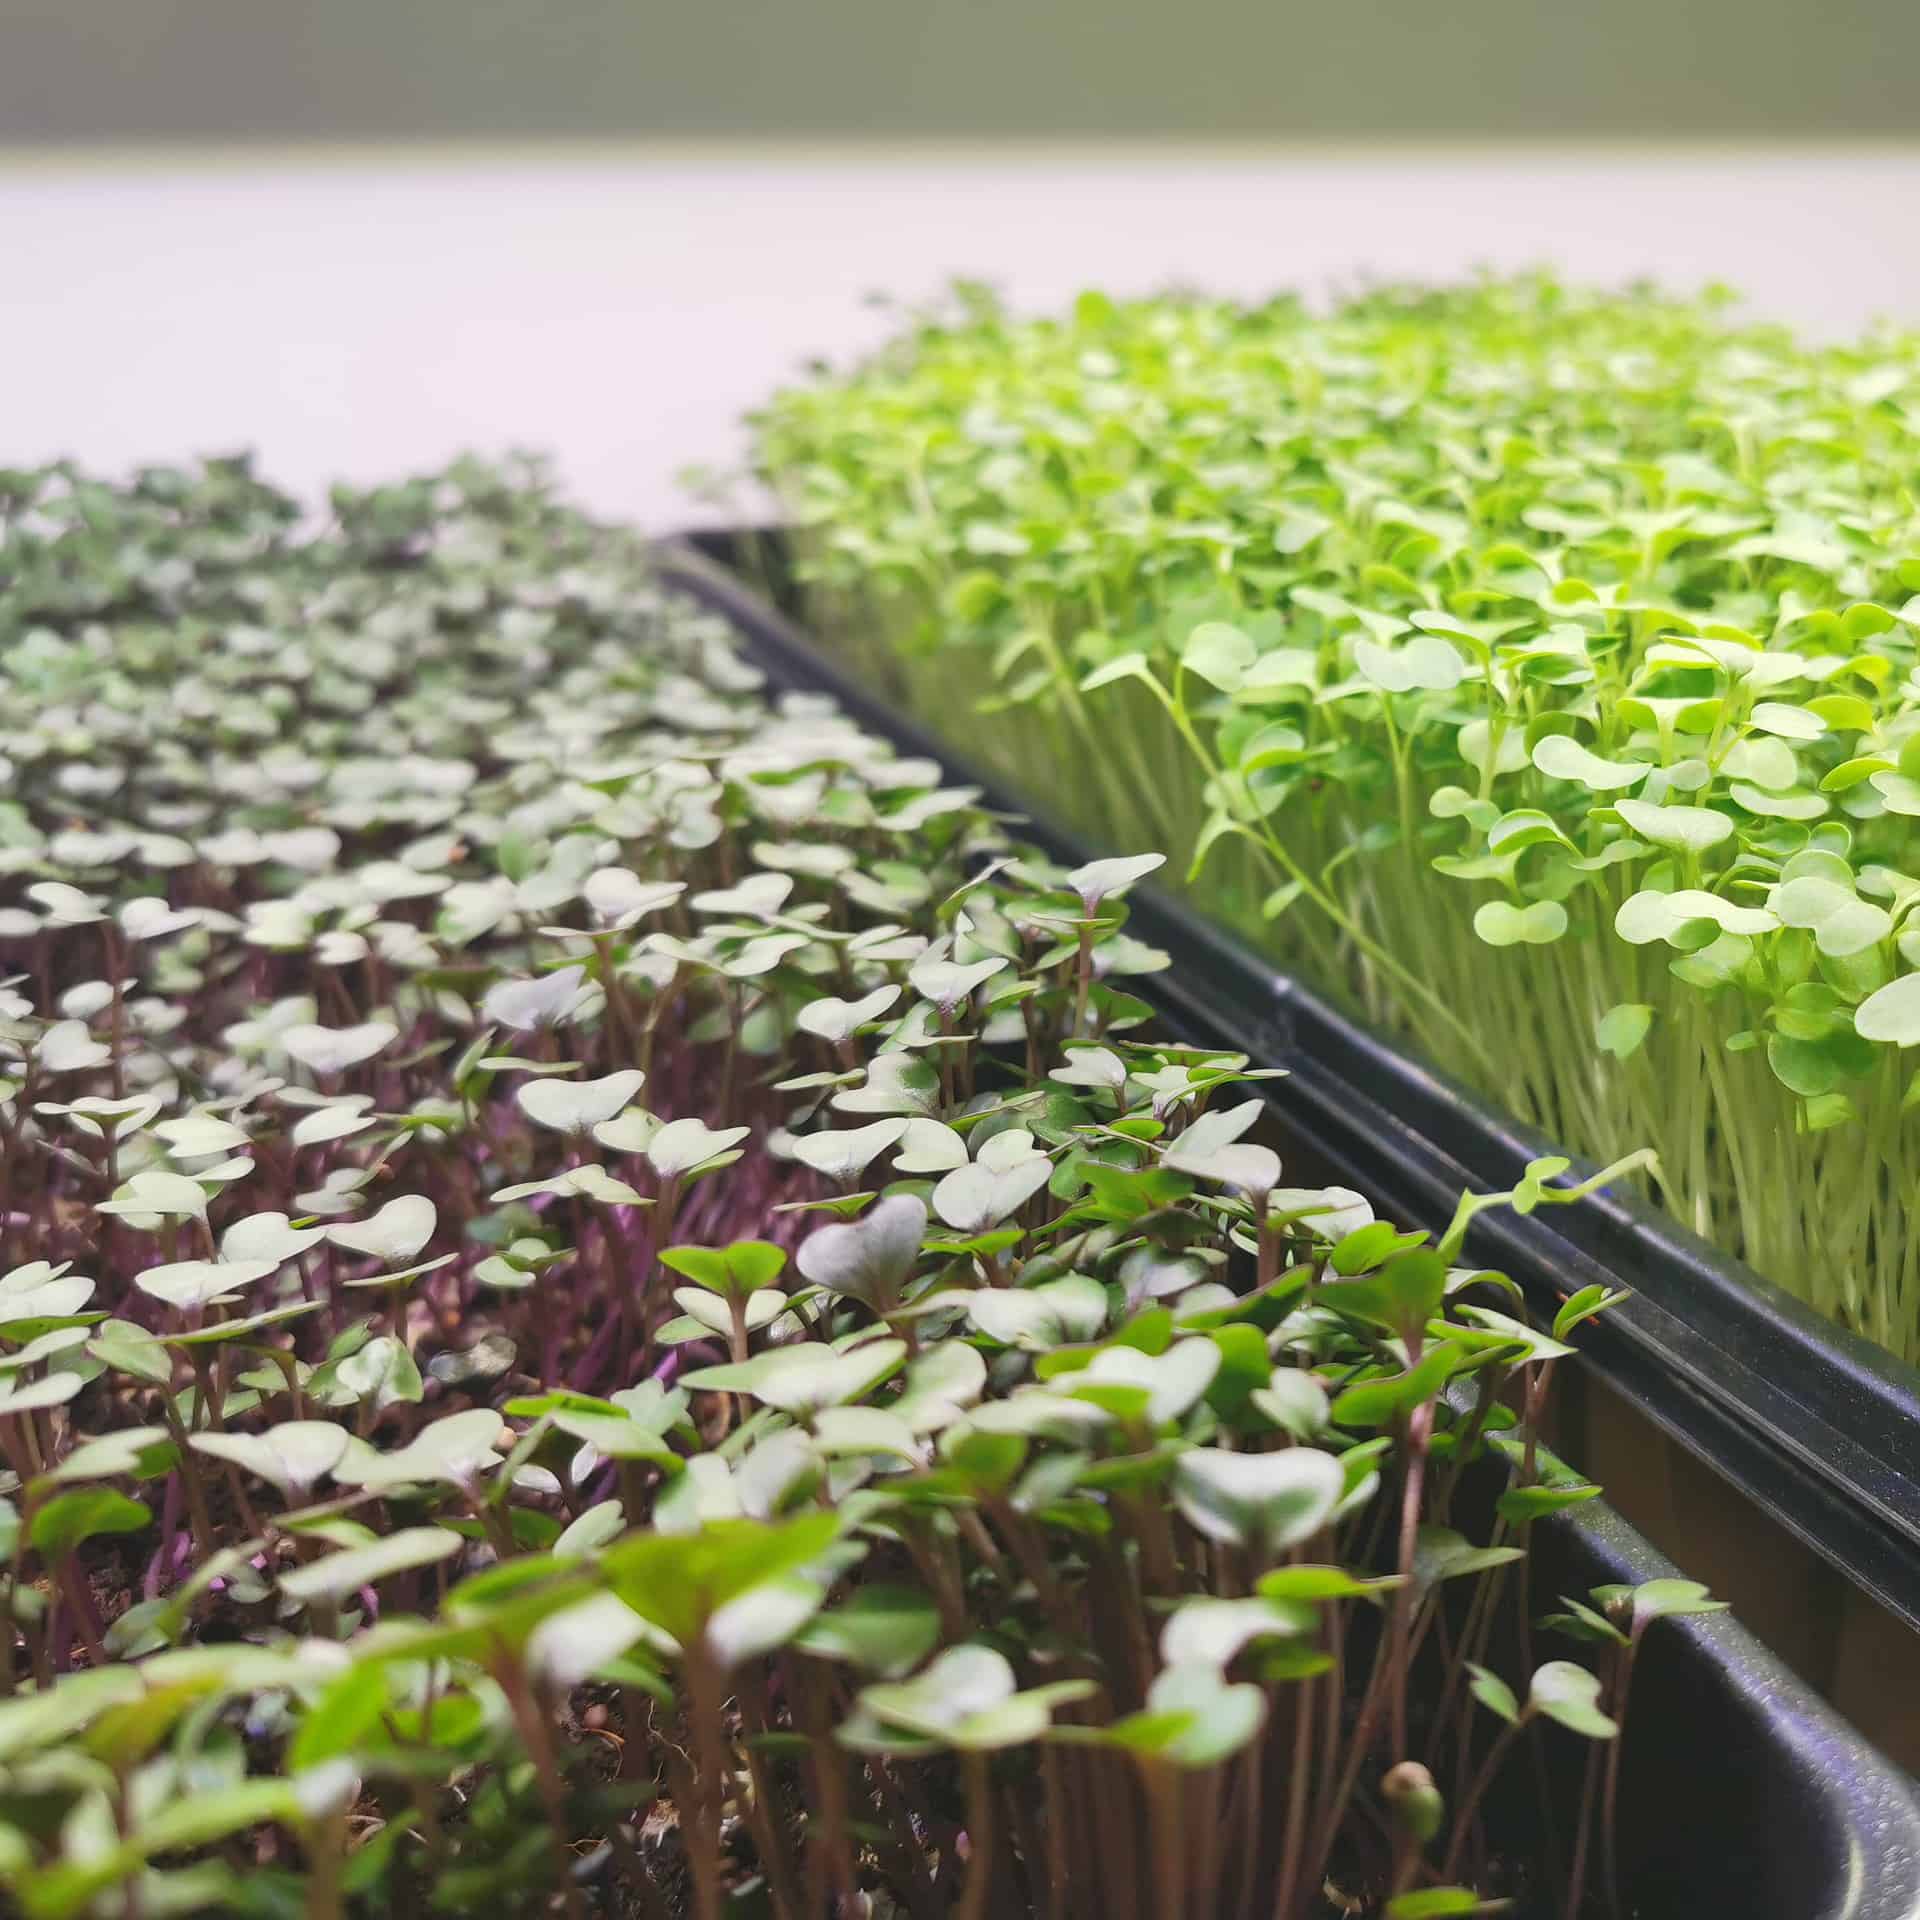
Microgreen Seeds You Can Grow At Home
Microgreens you can find available in different varieties, each with a character of its own. For starting to grow microgreens at home, the easiest microgreens are radish, which is delicious 😋 and not easy to kill. Alternatively, you can choose microgreen blends for various flavors, textures, and colors.
Chia
 chia microgreens @flickr
Chia is not just any microseed but a micro pod filled with calcium that is good for your bones and teeth. It also helps the cardiovascular system prove your heart’s health, allowing oxygen and nutrients to move around the body. When harvesting microgreens like Chai, you can add it to plain yogurt or pair it with granola.
Add flavor to your chicken, pork, or marinade. Or blend it in a smoothie or even in a cookie recipe.
Peas
 peas microgreens @flickr
Pea shoots, known as pea greens, are the young leaves and shoots as the microgreens grow to form the seeds. The health benefits of this microgreen are excellent as it provides your body with the micronutrients you lack in meals.
These tiny seeds sprout into many microgreens you can add as a topper to a salad or enjoy on their own.
Broccoli
 broccoli microgreens @flickr
Broccoli microgreens have vitamin C with a higher vitamin E level than adult plants. Still, vitamin K is lower, making it ideal for patients with impaired kidney disease. Furthermore, the microgreen has a sulforaphane compound that helps prevent cancer, brain disease, aging, and mortality.
Also, eat them raw instead of cooking them.
Kale
Another microgreen is kale, but it grows well hydroponically. You can expect to harvest in 12 days as you can take advantage of the health benefits without the texture and taste. In the microgreen form, it tastes like leaf lettuce or mild romaine.
Radish
 radish microgreens @flickr
The radish microgreen is fantastic, as germinated seeds sprout in warm and excellent conditions for two days. You can harvest them in five to ten days. Radishes have a high mineral, antioxidant, and vitamin content.
Still, it would be best to harvest them when the first true leaves grow, as they will become woody. But you need not stress if they grow too long; you can add them to stews and soups. The greens have a spicy flavor and are tender and crisp.
Arugula

For a sharp, peppery flavor, you need to grow microgreens indoors, like Arugula. Add it to sandwiches, salads, or other dishes to replace pepper. It takes up to three days for germinated seeds to sprout and is ready to harvest in seven days.
The other common name is roquette lettuce or rocket.
Mustard
 mustard microgreens @flickr
Another spicy yet pungent microgreen is mustard to add zest to your taste buds. Add it to your salad, or use it with your reddish microgreens. The seeds germinate in four days to harvest in ten days and grow fast.
They can grow a bit longer past the harvest to become small greens.
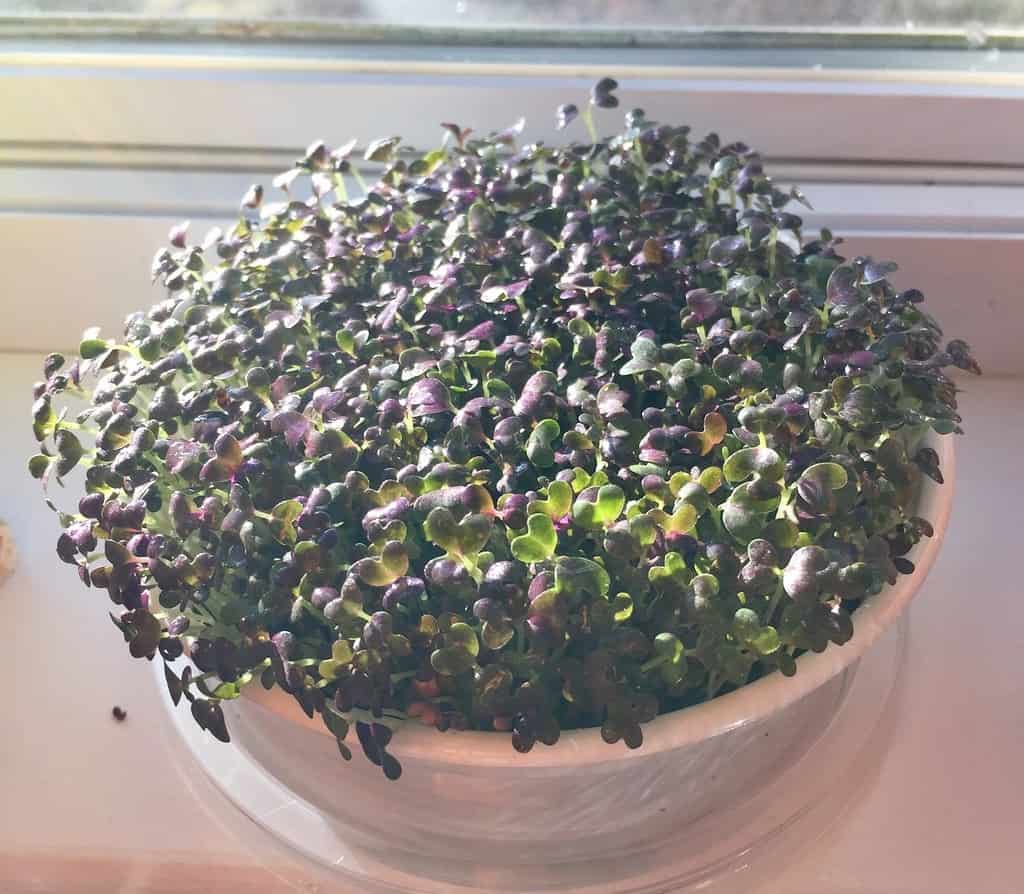
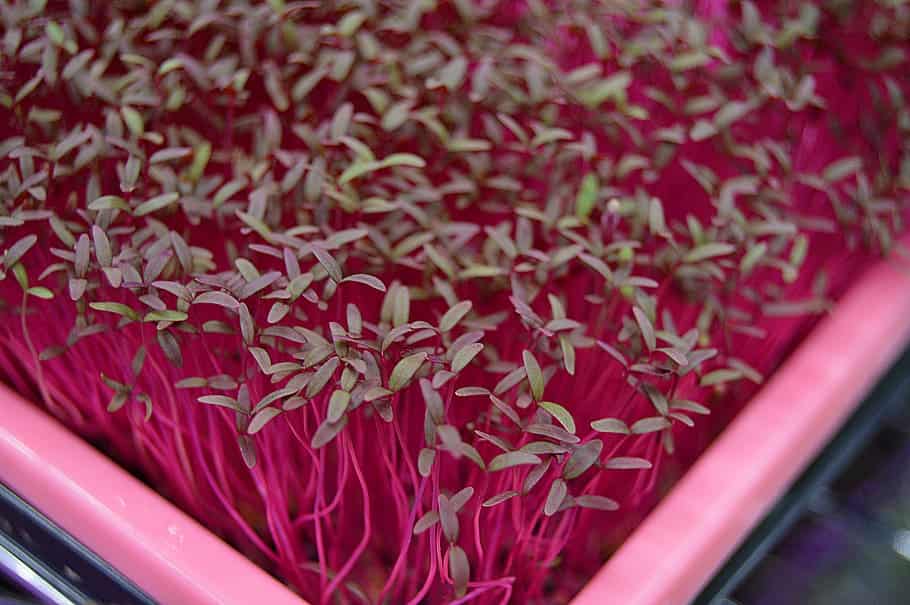
Beets
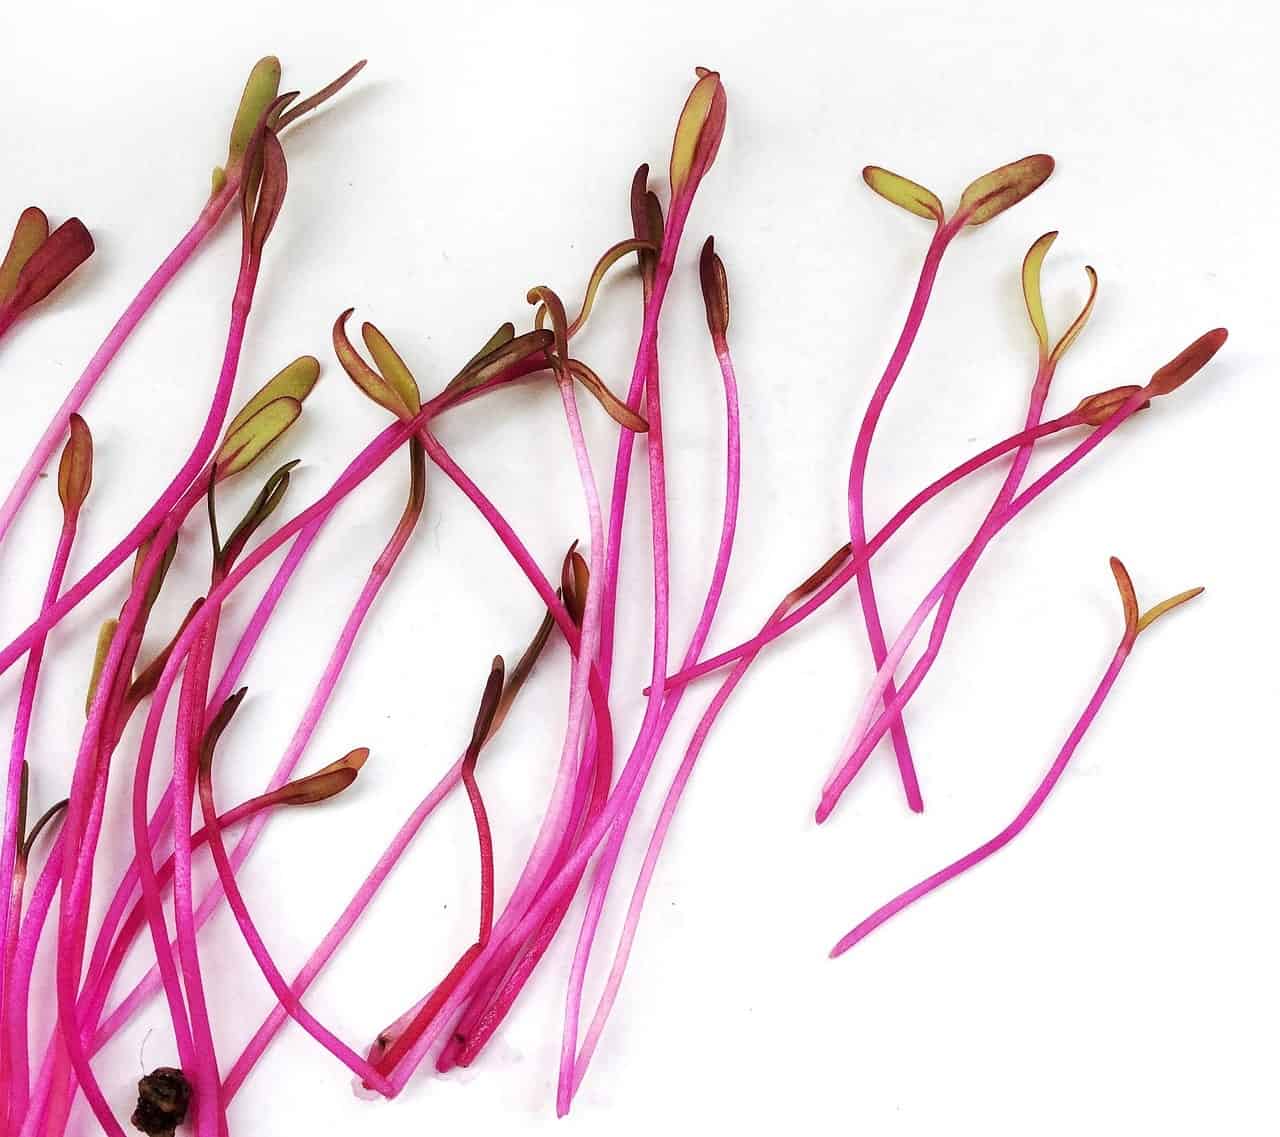
Beets can take a bit longer as the blackout period is eight days, and the germination takes up to four days. From sowing, it can take up to 12 days before harvesting. You must pre-soak the seeds in cold water for 12 hours and sow them thick.
Then add them to add a vivid color of red to your salads. It has a mild earthy taste like full-grown beets.
Basil
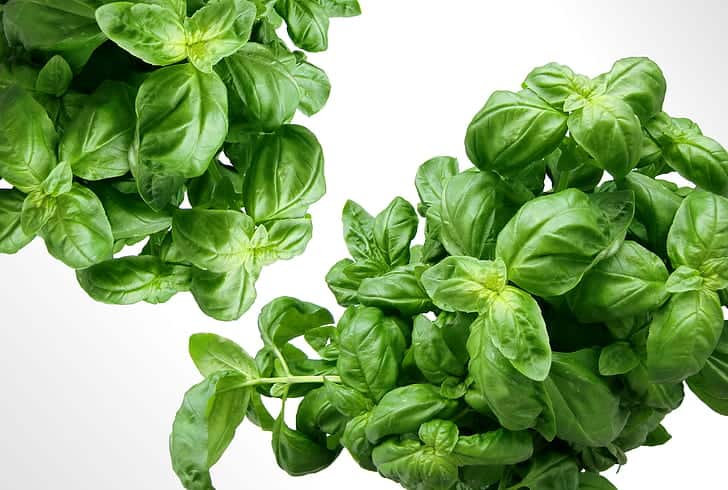
We do not recommend pre-soaking basil seeds as they form a gel and clump together. Instead, sow a thin layer directly on the soil and mist them with your spray bottle. The microgreen grows fast but prefers more heat and is best grown in summer.
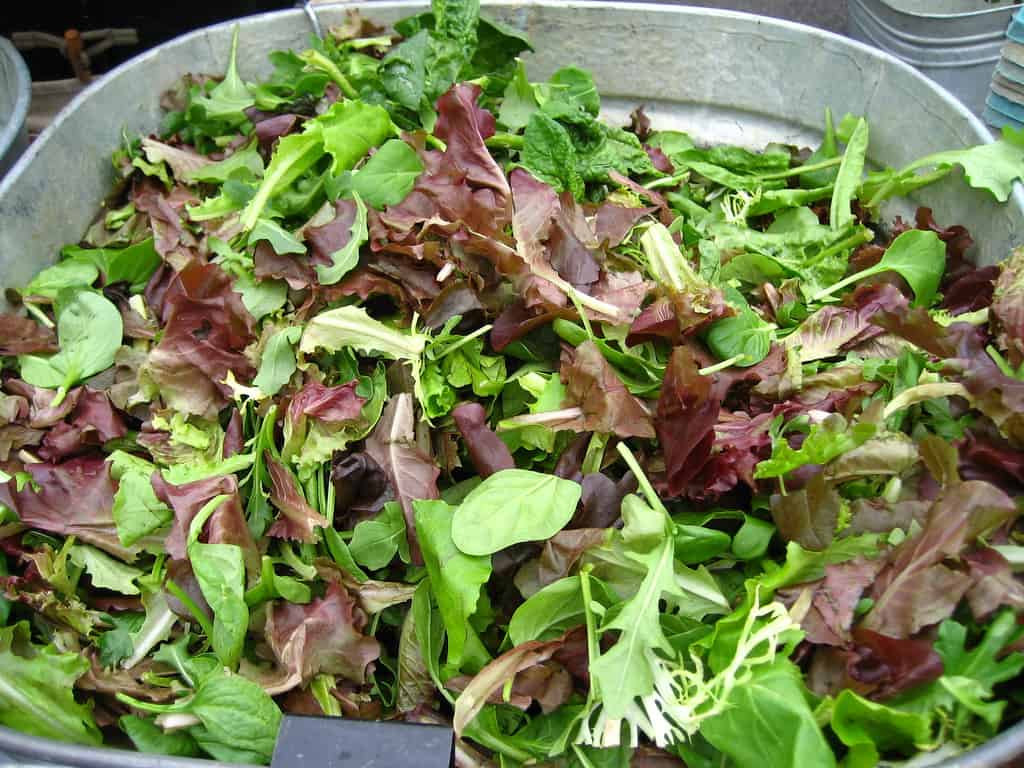
Mesclun
 mesclun @flickr
It is a mix of salad greens made of lettuce, chervil, Arugula, swiss chard, baby spinach, sorrel, swiss chard, and leafy vegetables. Hence, you mix them to grow at once. So, instead of increasing microgreens from different varieties, you mix them.
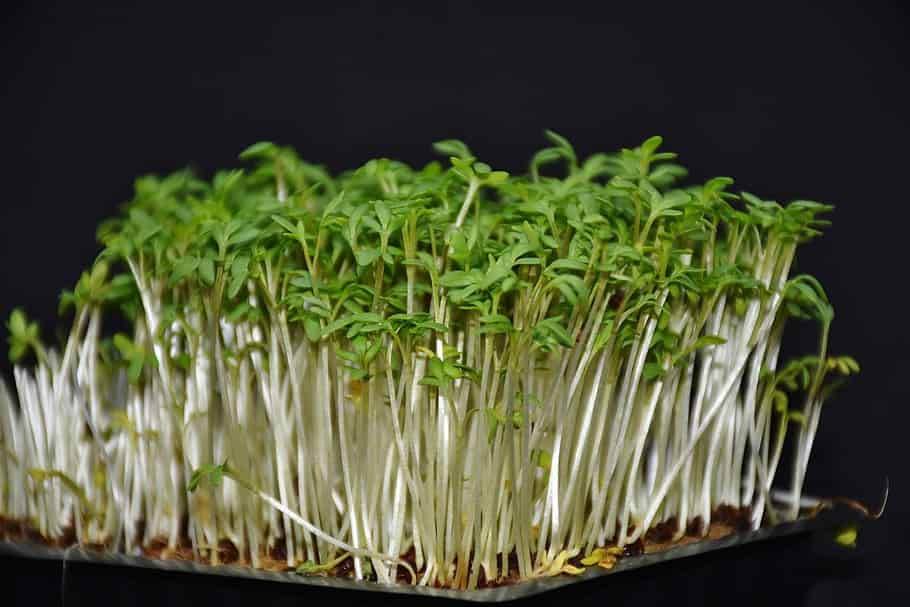
Cress
cress microgreens @flickr
Another great beginner microgreen to start is cress, which thrives in soil, and you can grow it in a wet paper towel. But the seeds are tiny, so be careful when adding them to the growing trays as they bruise easily.
Carrots
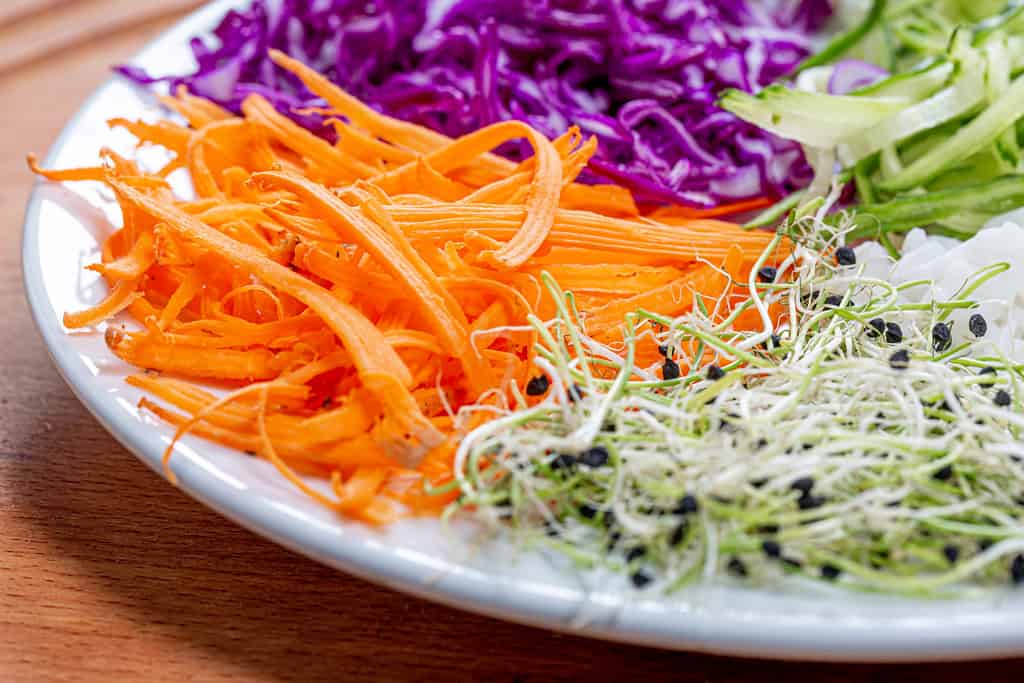 carrots microgreen salad @flickr
You can even grow carrots as microgreens at home in growing trays. Still, the seeds can germinate for up to 7 days, plus four weeks before you can harvest them.
Peas
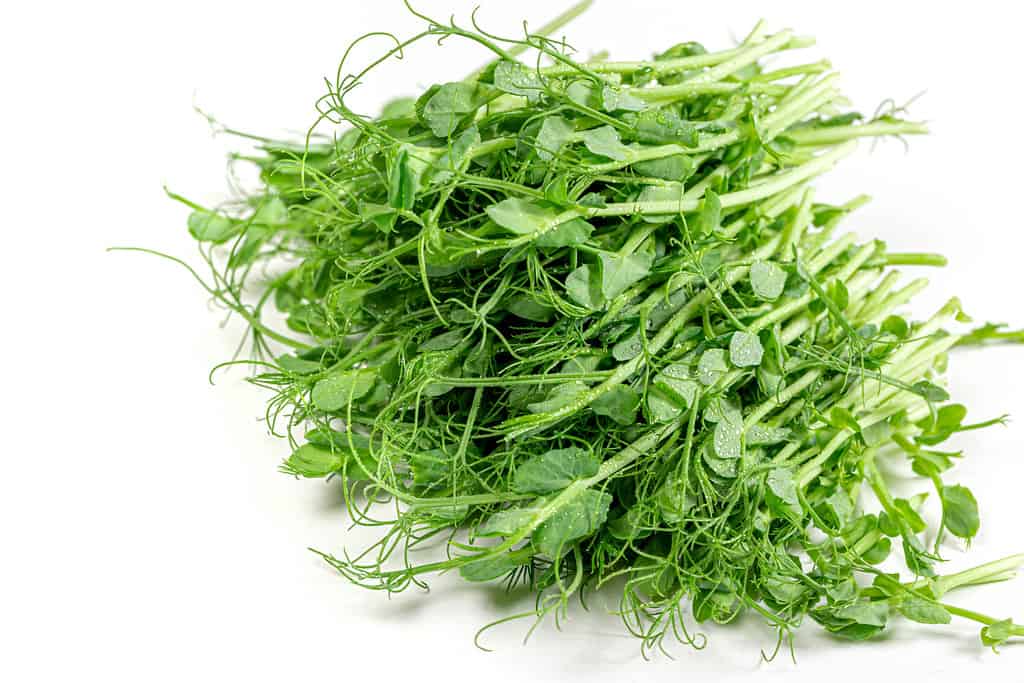 peas microgreens @flickr
You must soak the seeds in cold water for 24 hours before planting. Then, transfer the seeds to a bowl to mist them twice daily until they sprout and plant them. As these are larger seeds, you must add more to a growing tray.
Once in the soil, block out any light for five days but mistreat them twice daily. The pea shoots will be ready in 12 days, and they have a sweet pea flavor with a crunchy texture.
Sunflower
As with peas, you must pre-soak the sunflower seeds in cold water for 24 hours. But instead of placing them in a bowl, you can sow them in the potting soil and keep them moist.
Amaranth
This outdoor plant sprouts fast, taking up to three days to germinate. Then, you will wait another eight days to harvest. You can keep it in a container in a refrigerator to remain fresh for a long time.
It has a vivid red color with slender leaves and tastes delicious as a 😋 garnish.
Buckwheat
The seed resembles peas and needs soaking in cooled water for 24 hours. Also, rinse the seed well before planting. It grows fast, germinating in two days, and you can start harvesting in 12 days. At first, the leaves look yellow but turn green with enough light and a tangy taste.
Final Thought
When growing microgreens, you have a powerhouse of flavor, providing many health benefits. In addition, growing microgreens is not tricky, and you do not need a lot of supplies.
So, gather some microgreen seeds and start planting. Not only it adds flavor to your foods to take advantage of the health benefits offered.