No products in the cart.
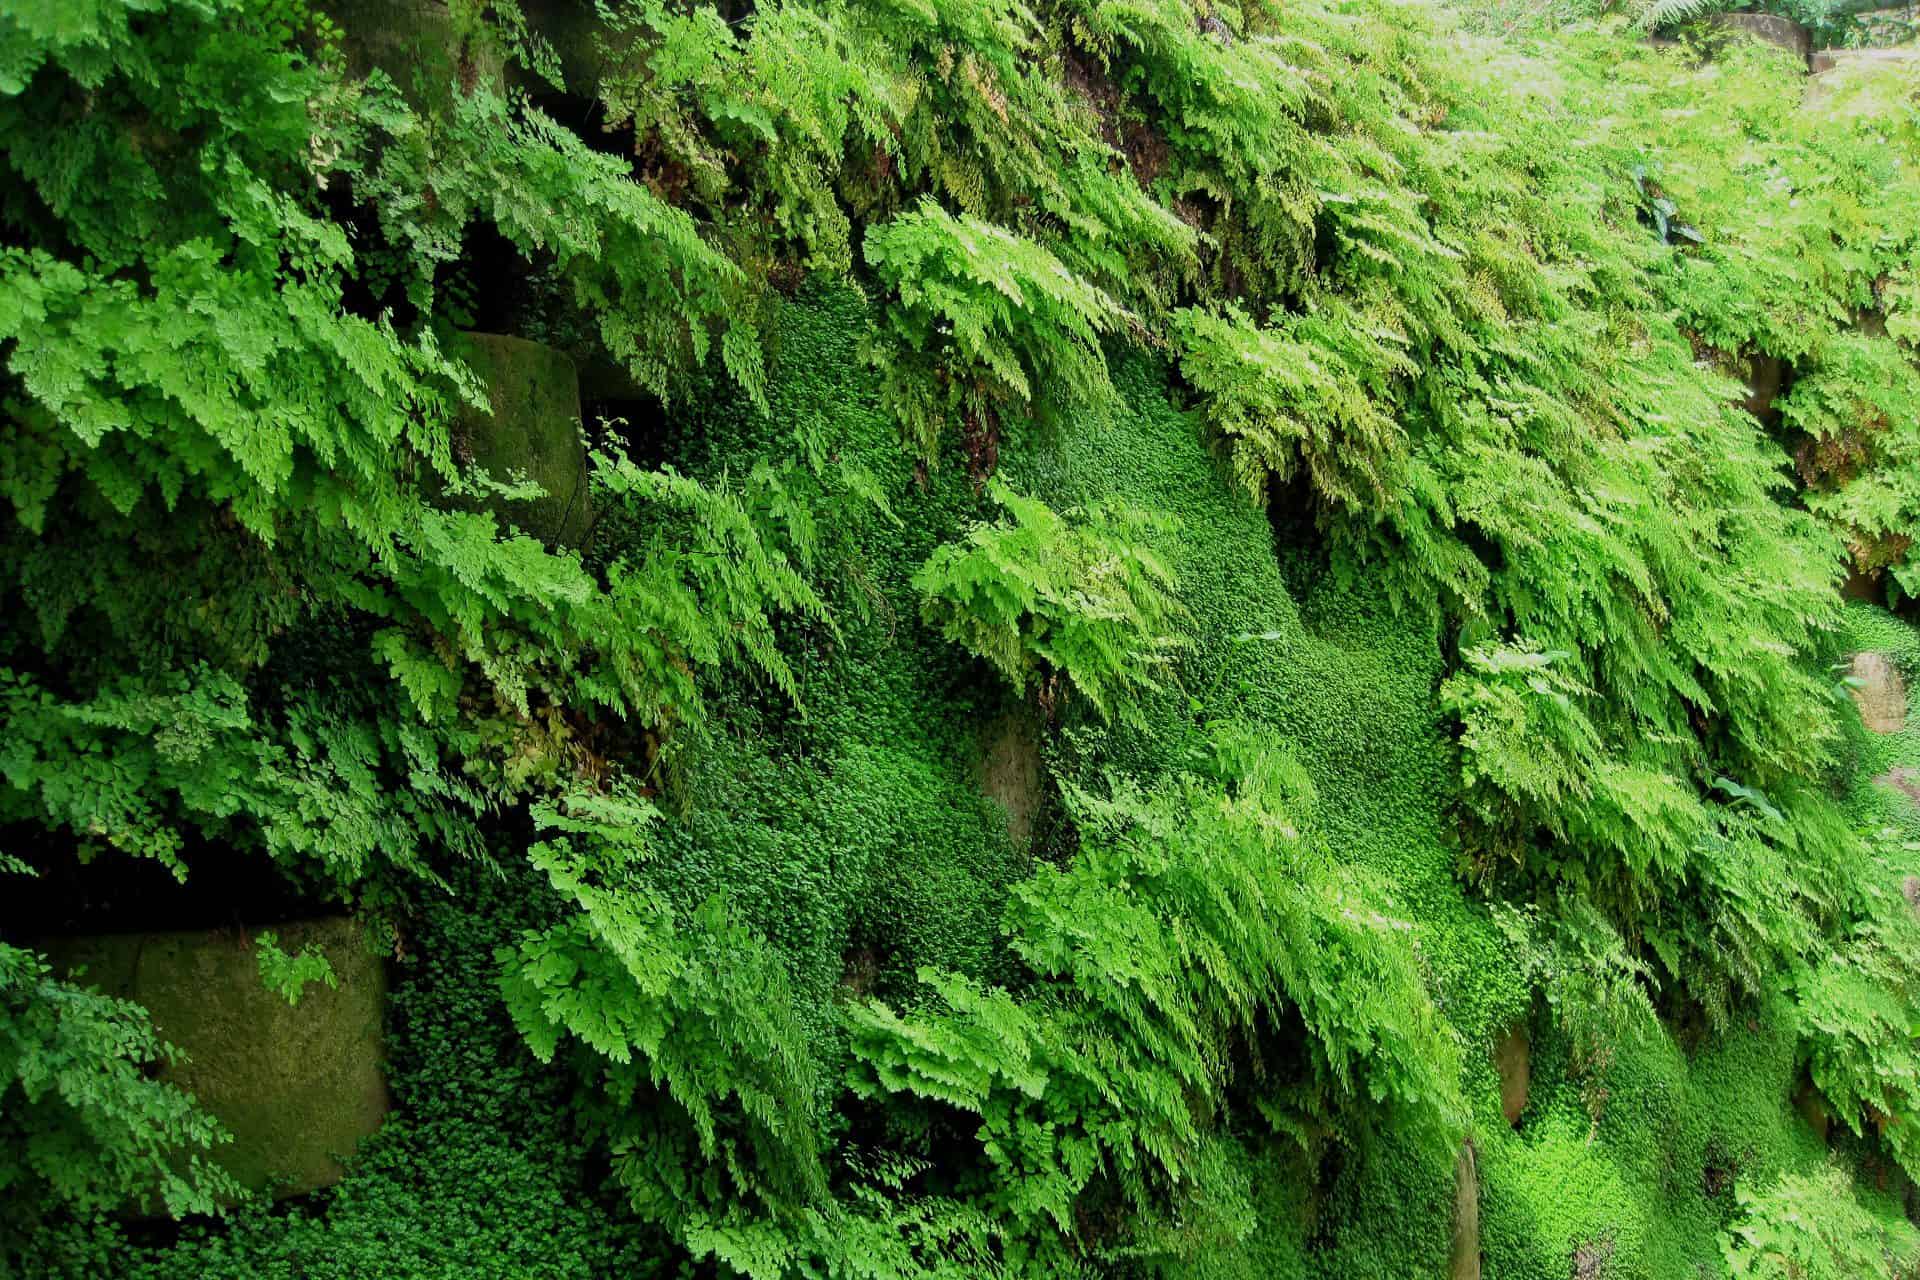
Living moss walls are all the trend for a good reason, but you can also get a preserved moss wall. The moss art wall is excellent to have indoors and outdoors.
Moss makes maintaining them effortlessly, even if you are like some of us trying to keep our houseplants alive.
So, why not catch on with this trend to bring nature to your indoor or outdoor living space? The best part is we will show you how!
What is a Moss Wall?

Moss art is about decorating your interior to exterior walls with preserved or living moss. The wall art you choose can be living moss walls recommended for outdoor plants. Then you have the preserved moss walls intended for interior spaces looking way better than artificial moss glued to the wall.
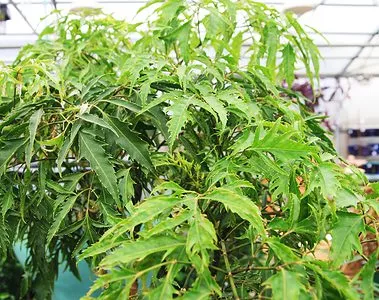
Still, depending on where you plan to create your moss wall décor, you can choose from thousands of species of living moss to preserved ones. So whether you want reindeer moss, pillow moss, to air plants, you can get creative designs online to make a stunning living wall.
The fantastic thing about a living plant wall art outdoors is that it is easier to maintain it when it is time to water it without any bacterial growth. But for indoor moss walls, it helps to use preserved moss as it has zero maintenance.
Today we will look at both options available and an interesting fact, according to the University of Strutguard, live moss can spread over a larger surface area than most other plants.
Starting Moss Walls Outdoors
Living moss walls are sure to impact if you have the space in the backyard at a pool or in your entertainment area. So, to help you get started, we have a DIY moss wall guide here.
Making Your Living Moss Walls
For your living moss walls, you can choose natural moss to grow indoors, allowing them to anchor to the accessories you plan to include. These can be from driftwood, pebbles, rocks, twigs, and more.
Then you will need glue evenly applied to your accessories attached to some plywood, and then fill up those empty spaces with your moss and other plants. Then you can fasten your work of art to a brick wall or a wall behind a raised garden bed away from the property.
The fabulous thing is you can build or even buy a frame kit to create your green walls. Another notable thing is that moss anchors to anything solid, but if you plan to plant them in the soil, it helps to choose cinder blocks as you can place your potted plants in the holes.
Another helpful tip is if you choose small plants like air plants, you can plant them on the moss creating vertical gardens. But if you choose to go larger, consider mounting a staghorn fern that needs to be attached to sphagnum moss to remain hydrated.
Still, you need not add other plants as the moss attached to your rocks or wood will soak up moisture, and if you do add a fern, it will also keep your plant alive.
Types of Moss and Plants To Grow on Your Living Moss Wall Outdoors

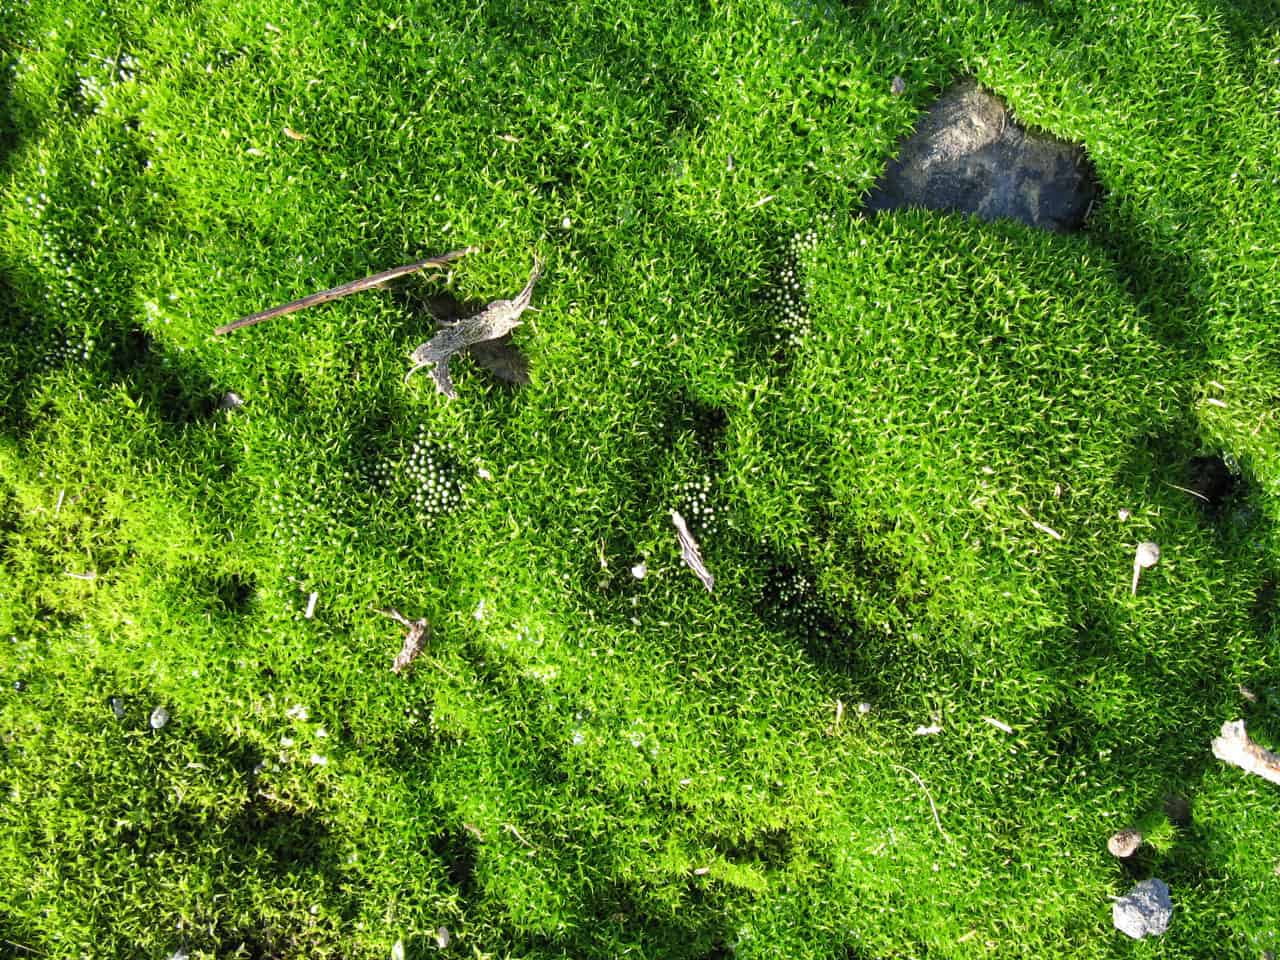
It all comes down to your climate and the frame you plan to use on the wall. Growing only moss is excellent as these are hardy plants in the cold. The moss loses its color in winter but bounces back in summer when temperatures rise.
If you decide to add tropical plants, it helps to place them on removable parts to bring your plant indoors when winter arrives. Or you can use multiple frames like hanging boards from other boards to remove.
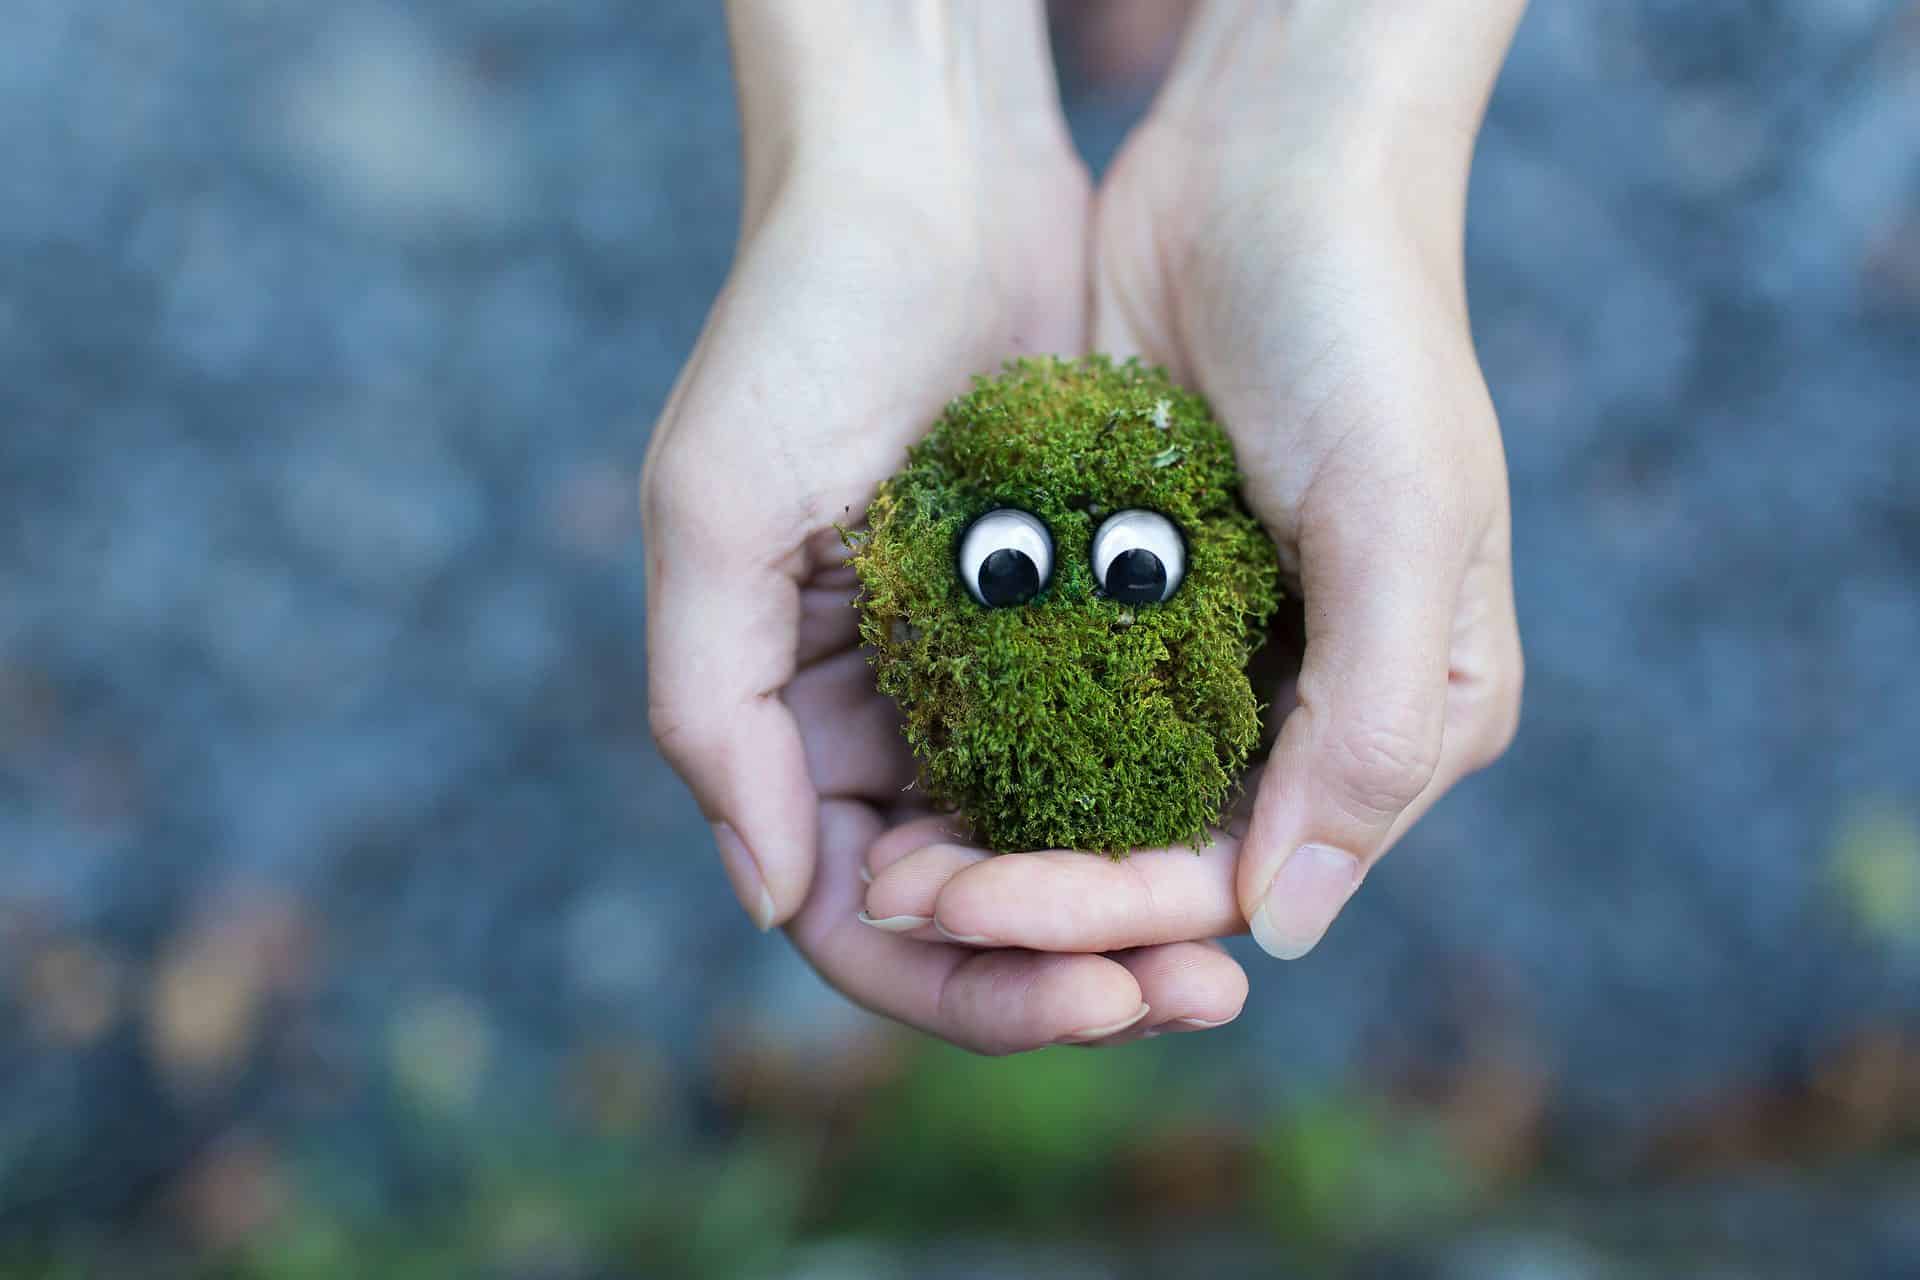
The benefits of living moss walls are that they clean the air around you of toxic waste. Furthermore, it removes carbon dioxide and helps with noise reduction and your mental health. So, you get all the benefits of living in a greener space, even if you do not have a green thumb.
Some other plants that add more texture are Acrocarpus mosses, which have upright growth suitable for filling spaces. Alternatively, add a string of hearts or a Golden Pothos to bromeliads or tillandsia.
Adding succulents is low maintenance and adds a unique style that is eye-catching on most walls. The truth is that a living moss wall is not only about using one species but as much as you can.
Caring For Your Moss Wall
Once you have selected your succulents to place on your living wall, it is time to start your project.
Start with your 3D structure using plywood with added accessories from stones, pebbles, and driftwood, to rock. These anchor points are glued to the wood for the moss to attach and grow.
With a hot glue gun, you can now attach your air plants to wood or stone as they get nutrients from the air.
For living plants growing roots, you can bore some holes in the wood and tie some fishing line through them. But you can skip this step when using a cinder block frame.
Then place some sphagnum moss around the root ball to tie it to the frame. But we recommend using wire to secure them to the structure, not material that quickly decomposes like rope or twine.
As your living moss walls have ambient moisture the whole time, choose a waterproof wire that is easy to remove when needing to bring your rooted plants indoors. Then hang your frame anywhere outside, away from your home.
The only care it needs to keep your moss walls alive is an occasional misting, as the wall has constant moisture. Then provide it with good air circulation with natural light. A living wall works well in urban areas, and different moss types offer the best air quality.
Creating a Preserved Moss Wall

As we have discussed, having a living wall inside the home is not beneficial. But in this modern world, you have alternatives known as preserved moss. It is a live moss with a glycerin coating to help prevent them from losing color and will not grow.
It is not living walls but preserved moss that provides very little maintenance, and you need not grow moss in natural greenery to achieve this. While a vertical garden exterior helps remove air pollutants, the same does not apply to preserved moss.
The truth is that the preserved moss was once a living plant, but its water content was replaced, as mentioned, with glycerol to retain that fluffy look. Then the people use food-grade dye to enhance the color.
What do You Need For Your DIY Preserved Moss Wall Art?
One thing your preserved moss walls will not need is direct sunlight, watering, fertilizer, or the right humidity level as live moss.
As with your live moss wall art, you need a moss frame with some backing to create your moss art. These can be wooden frames or another type to glue things onto them. Again, you can choose any shape and size you want.
Next, you need some super glue or wood glue that bonds well.
Then choose your preserved moss that is enough to fit into the frame, so measure the surface you will work on to invest in moss. So, you can mix it up with sheet moss, cushion moss, and reindeer moss.
Then grab some gloves as the dye can leak onto the hands.
If you want, you can add artificial moss to plants in between on the mount. Great preserved plants are ferns that hang down and do not forget your hardscape elements from wood to stone.
Steps to Make Your Moss Wall Art
The first step is visually looking at what your moss wall requires by planning the piece. You can do this with your real moss to an artificial moss wall with some pen and paper. Still, if you are unsure, google some nature pictures of indoor walls covered with moss wall art.
Now that you have your design, start spreading that glue across the frame and panel. If you work on a flat board surface with glue, you can always use some masking tape to keep everything together.
Next, take your image and place the elements from your rocks to woods leaving room for your highlight pieces. If you can, invest in a glue spreader as it helps to push the glue to all the edges of your rocks to wood.
Now the fun part is to place each moss piece in place using an even spread of glue at the base. Fill up the spaces with the largest elements first, followed by smaller details.
Then end it by looking at your artwork to check if blank spaces are showing up. So, plug up those shiny spots of glue with some more moss.
Now, it takes patience and time to wait for everything to dry. So, lay something flat on the top that is not too heavy to compress the work.
Now that everything is dry, you can remove the added weight and look at your creation. Then hang your wall art on the wall.
How to Maintain Preserved Moss Walls

One thing you will love about your preserved compared to live moss walls is that it has no maintenance. All the moss walls need is occasional dusting as it does not attract pests but can attract dust.
Still, there are two things we recommend you do not do. The first is not to let your artwork stand in direct sunlight. The second thing is never misting your preserved moss with water as it does not have similar needs to a living moss wall.
Over to You
We thank you for reading how you can care for a preserved living moss wall and hope you are just as excited as us to start your moss art today. Until next time we chat again, please feel free to show us your live mass wall art to preserve moss wall creations today.