No products in the cart.
Table of Contents
Not only is macramé a retro craft, but it also fits in with any décor style to create beauty for your living space with style.
Learn how to start a macrame plant hanger involving knotting cording with functional patterns here. Do you want to bring nature into your bathroom or bedroom or have a modern living room—adding a macramé plant hanger DIY style will add some flair to any home.
What is Macramé
The modern macramé is a crafting technique using knots with various textiles. Recently, it has gained popularity once more with artists and crafters. Making a modern macrame plant hanger pattern is an innovative way to spruce up your home instead of a plain plant hanger or wall hanging.
It is an age-old practice that has been around for centuries. You can do much with it, from key chains to table runners, using your hands and inexpensive supplies. You form a basic shape using several knots, making it a functional piece everyone will love.
You create each knot using your hands and need no other tools except for a mounting ring keeping it in place. A macramé project comprises at least one knot; in most cases, you piece them together using several knots. You can join macramé elements using other methods, such as knitting or weaving.
What is a Macrame Plant Hanger
A macrame plant hanger is a decorative and functional accessory used to suspend potted plants, typically made of knotted cords or ropes. These hangers are often crafted using a variety of macrame knots and patterns, creating a beautiful and intricate design.
Macrame plant hangers add a touch of bohemian chic to any space and provide a practical solution for displaying plants while maximizing floor and surface space.
DIY Macramé Plant Hanger
If you want a stylish way to create a boho-chic plant hanger, using macramé is the way to go. Even if it comes from the 70s, you can find different macramé plant hanger ideas to make it better than before.
Do you love plants? Then, you will love how these hangers display your plants outside and inside the home. However, before we get to the macramé plant hanger instructions, we must master some steps.
It may seem daunting, but it is pretty straightforward. We will start with some basic knots.
The three types of knots we will use in the tutorial:
- Loop Knot
- Square Knot
- Spiral or Half Square Knot
Check out the helpful video showing you how to make each knot.
Macramé Hanger Supplies
First, start by gathering all your macramé plant hanger materials:
- It would be best if you had 8 x 3-yard pieces of 3mm thick macramé cord
- 2 x 1-yard pieces of 3mm thick macramé rope
- Get a two-inch brass or wooden ring
- Two pieces of five ft. rope
- A pair of scissors
Macramé Plant Hanger Tutorial
First Step: Sliding the macramé cord through your ring
- Take your eight-by-three-yard piece cord and slide it through the ring.
- Make sure to center the ring on the cords, ensuring the ends are even.
Second Step: Make a tie-gathering knot.
- Take the one-yard piece of macramé rope and lay it on your bundle of cords in a V-shape.
- Place the piece of string, making the left side of your V shorter than your right side.
- Hold the bottom of your V-shape and wrap the bundle using the longer piece of macramé cord.
- Continue wrapping from the top down and positioning each coil neatly underneath the last.
- When satisfied with the length of the gathering knot, take the wrapping cord and slide it into the loop. Now, pull the short end of the original V-shape upwards.
- Keep an eye on the loose end, securing it within the coils of the knot. Trim the excess cords with your scissors.
Third Step: Making the square knot
Now, you can start with your macrame knots on the cords. One of the basic knots for macrame is the square one, creating a beautiful box-shaped knot.
- Start by splitting four of the cords away from the rest.
- Separate the macrame rope so two are anchors in the middle, with one on each side of the knotting cords.
- Pull your left knotting cord over your other ropes, making a number four shape.
- Take the right knotting cord over the left one on your right side.
- Grab the right cord, bringing it behind the two-center anchor ropes up through your triangle part of the number four shape. You should have one thread on the top and bottom of your anchors.
- Pull the right/left knotting cords evenly and slide the knot up your anchor cord. This completes one-half of the square knots.
Use the same techniques for the opposite side to complete your square knot.
- Pull the right knotting cord over your two anchor ropes, making a backward number four.
- Place the left knotting twine over the right one on the left side.
- As with the previous method, pull both the left/right knotting cords evenly, sliding the knot up towards the two middle cables.
- Continue using this macramé pattern for about 1.5 ft. Do the same with the rest of your cords.
- $45.99Sold By: Succulent Oasis
In stock
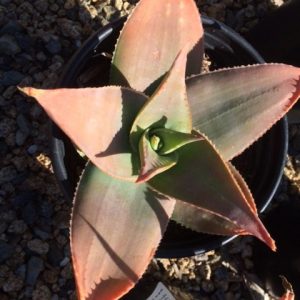
Mature Aloe Hybrid | Aloe Striata Hybrid or Ghost Aloe | A beautiul purple-gray Aloe
Rated 4.84 out of 5 based on 352 customer ratings00Sold By: Succulent Oasis - $6.00Sold By: Smoot's Farm
In stock
Cactus Powder Puff
Only 1 available and it’s in 1 people’s basketRated 4.89 out of 5 based on 27 customer ratings00Sold By: Smoot's Farm - $60.99Sold By: Succulent Oasis
In stock
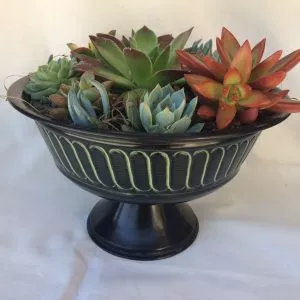
Large Succulent Arrangement in a Black with Green Tin Pedestal Planter.
Rated 4.84 out of 5 based on 352 customer ratings00Sold By: Succulent Oasis - Free Shipping$21.99Sold By: Gar-Zen Botanical Design
In stock (can be backordered)
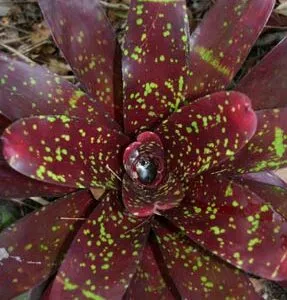
Bromeliad Jack of Diamonds Neoregelia Ships Free
Only 9 available and it’s in 1 people’s basketRated 4.86 out of 5 based on 49 customer ratings00Sold By: Gar-Zen Botanical Design
Fourth Step: Forming the Net
Next, you will use an alternating square knot to form the net for holding your indoor plant pot.
- The first step is to combine your left anchor with your knotting cord from the one group using the suitable anchor with the knotting cords of your adjacent group.
- Make a single square knot three inches down from the knotted cords.
- Repeat this by creating another square knot between each knotted cord group.
- You should have four square knots that connect with all the ropes.
- Complete the second row of your alternating square knots three inches from the last row.
- Take all the cords in your hand and tie the final gathering knot three inches down from the last knot made.
- Ensure that it is tight to hold your pot.
Now, you can hang your work of art in the bathroom, or anywhere you want to add some color to your living space.
The macramé patterns in this plant hanger tutorial are a basic one. For macramé beginners, you can always invest in a macrame kit or a macramé plant hanger kit to make your work easier.
Once you start your macramé DIY projects, nothing stops you from following these basic steps to create different items.
Whether you want to buy, sell, or simply reach out to other plant enthusiasts, Plantly is the right place to be!
- $29.99Sold By: Succulent Oasis
Only 1 left in stock
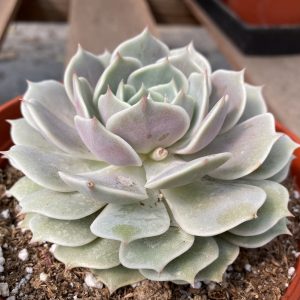
Mature Succulent Plant Echeveria Lola.
Rated 4.84 out of 5 based on 352 customer ratings00Sold By: Succulent Oasis - Free Shipping$44.99Sold By: Aloha Hawaii Orchids
In stock
Live Paphiopedilum Niveum x Sib (hshyng x tan san) Rare Plant 4″
Rated 4.65 out of 5 based on 268 customer ratings00Sold By: Aloha Hawaii Orchids - $15.00Sold By: Cacti and Exotica
In stock
Matucana madisoniorum
Only 9 available and it’s in 1 people’s basketRated 4.98 out of 5 based on 59 customer ratings00Sold By: Cacti and Exotica - $8.99Sold By: BubbleBlooms
In stock
Tiger’s jaw, Faucaria tigrina, very rare in 3 inch pot, super filled
Only 41 available and it’s in 3 people’s basketRated 4.81 out of 5 based on 279 customer ratings00Sold By: BubbleBlooms


